Create Trello Cards from new Google Sheet rows
Trello is project management tool that brings helps your team collaborate and stay on the same page. Document Studio enables you to automatically create cards in your Trello board when rows are added to a Google Spreadsheet. You can add new cards to any list in your Trello boards.
Connect Trello to Google Sheets
Install Document Studio and open your Google Sheet to launch the add-on. You may either open an existing sheet or create a new sheet and add data manually to the sheet. Create a new workflow, give a descriptive name and then click on Continue to move to the conditions page.
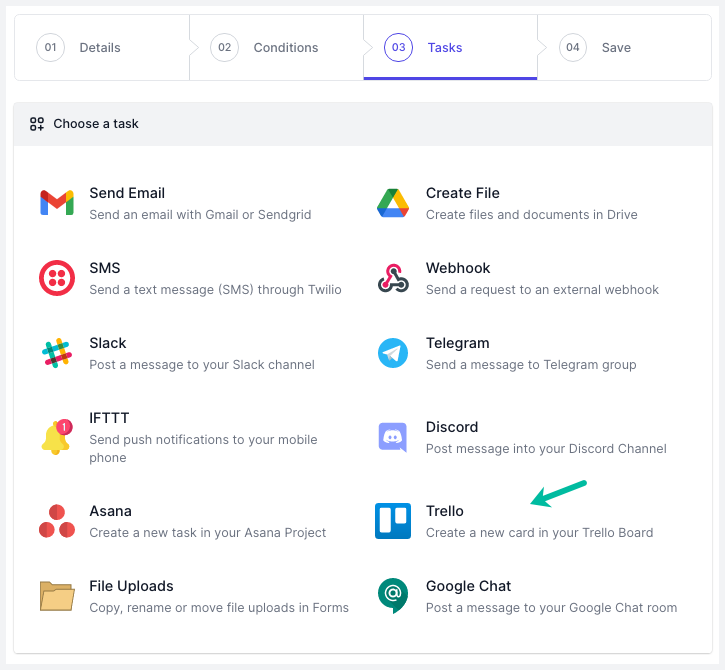
On the Conditions pane, specify if you want your workflow to run only if the Google Sheet row satisfies certain conditions. By default, the workflow will run for all rows in the Google Sheet. Next, choose Trello from the list of available tasks.
Authorize Trello
On the Trello page, click on the Link your Trello account button and follow the instructions to authorize your Trello account. Document Studio will only use your Trello account to create new cards from Google Form responses, it will not edit, read or delete any of your Trello cards.
Configure Trello Cards
Choose your Trello board from the dropdown menu and then choose a list inside the selected board to add the new cards to. Give your Trello card a title and a description. You can use dynamic fields, enclosed in double curly braces, and these will be replaced with the row data from Google Sheets.
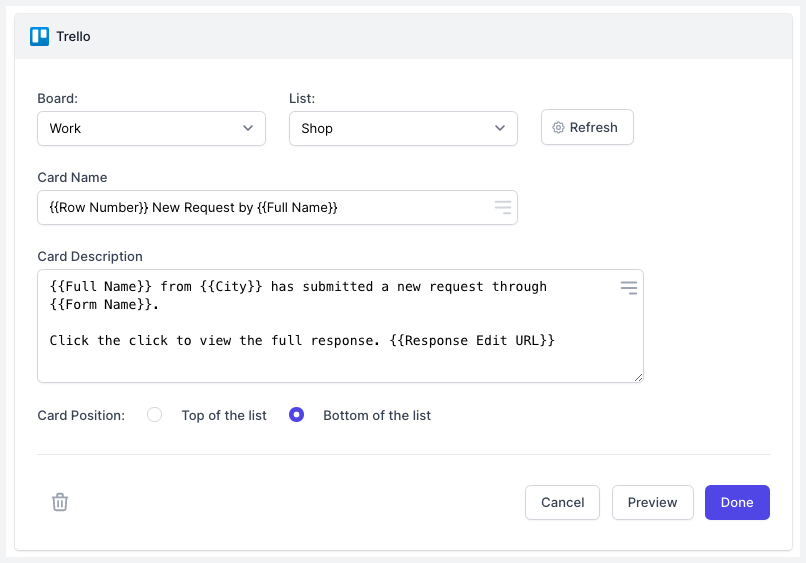
The card title and description field also support Scriptlets to add conditional text based on the user's answers.
{% if {{Age}} > 18 or {{Age}} == 18 %}
 {{Name}} can vote in the elections
{% endif %}
Preview and Activate Trello workflow
Click the Preview button and you should see a new card created in your Trello account. Document Studio will take the data from the second row of the selected Google Sheet and add a new card in Trello. Click Done to locally apply your changes.
Click on Continue to proceed to the triggers screen. If you want the workflow to be automatically triggered every hour, so that any new rows added in that duration are processed automatically, you can choose the option Run workflow every hour and then click on the Save button.
The workflow will also appear in the workflow dashboard where you can edit, delete or manually run the workflow.