Merge and Combine Multiple Rows of Google Sheet to a single Google Document
This step by step guide explains how you can merge multiple rows of a Google Sheet and combine them in to a single Google Docs document. This is similar to <<Next Record>> merge in Microsoft Word.
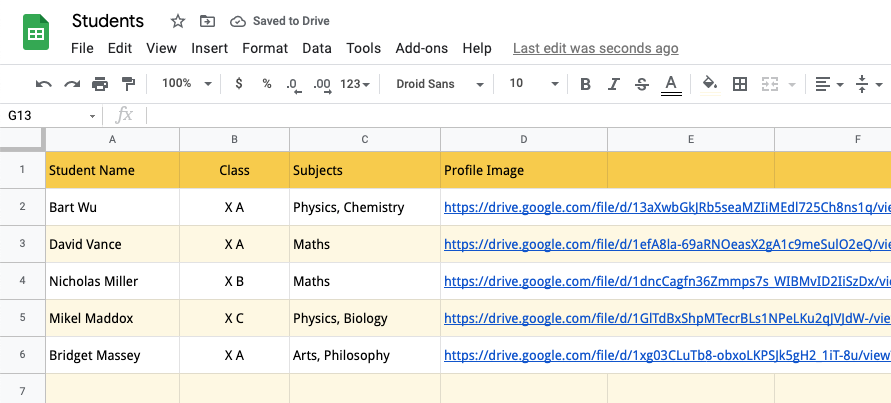
For this example, we have a Google Sheet with names of students, their classes and subjects. The profile pictures of the students are available in Google Drive and the image links are added to the Google Sheet.
Create a Google Docs template
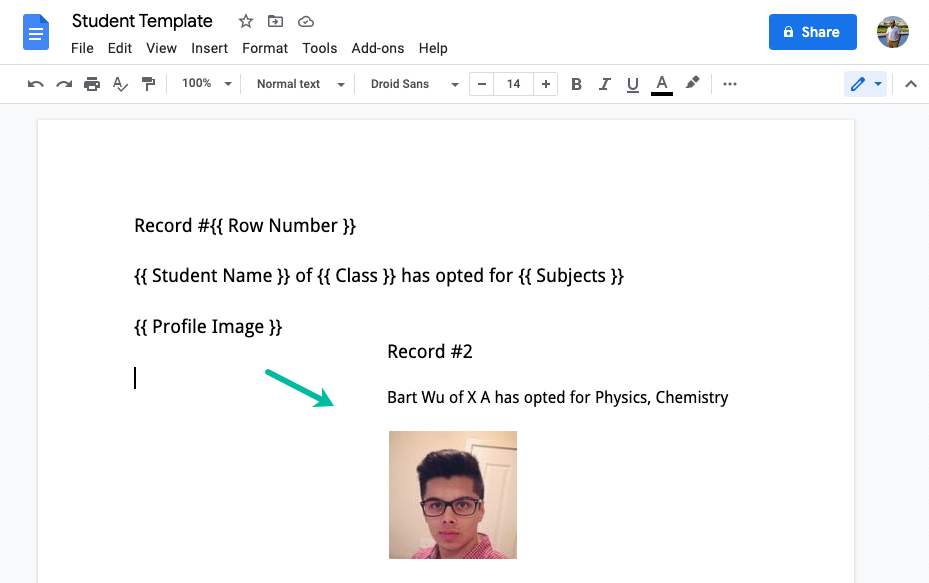
Create a new document in Google Docs and add placeholders, enclosed in double curly brackets, for the student names, their classes and subjects. You may also add tables, images, paragraphs, and other elements to your document template.
Create target Google Docs document
Next, we'll create a new Google Docs document that we'll append the individual records of the Google Sheet to. You can either create a new document in Google Docs or use an existing document but this document should exist before we create the workflow in the next step.
Combine and Merge Multiple Documents
Install the Document Studio add-on and launch the add-on inside Google Sheet containing records of the students. Create a new workflow, provide a name for your workflow and then click on Continue to move to the conditions page. The workflow, by default, will run for all rows in the selected workbook.
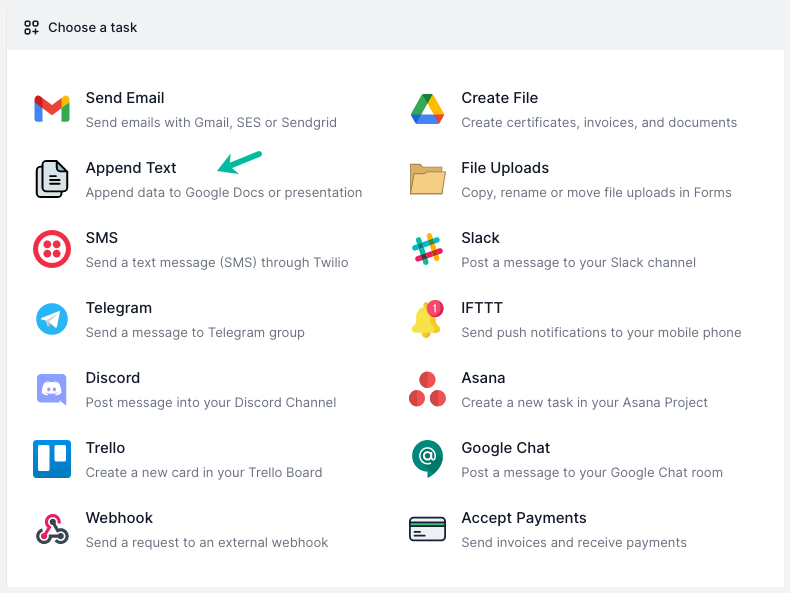
Next, choose Append Text from the list of available tasks.
Configure Append Workflow
Select Google Document for the target file format field. Next,choose the document template that you have created in the previous step. For the target document field, select the document that you want to append the individual records to.

Activate the workflow
Click on Continue to proceed to the triggers screen. If you want the workflow to be automatically triggered every hour, so that any new rows added in that duration are processed automatically, you can choose the option Run workflow every hour. Click on the Save Workflow button to activate the workflow.
The workflow will also appear in the workflow dashboard where you can edit, delete or manually run the workflow.