POST data in Webhook on a New Response in Google Forms
With Google Forms and Document Studio, you can invoke any Webhook URL and send data when a new Google Form response is submitted.
Webhooks for Google Forms
Install the Document Studio add-on and launch the add-on inside your Google Form. Give your workflow a descriptive name, and click on Continue to move to the conditions page.
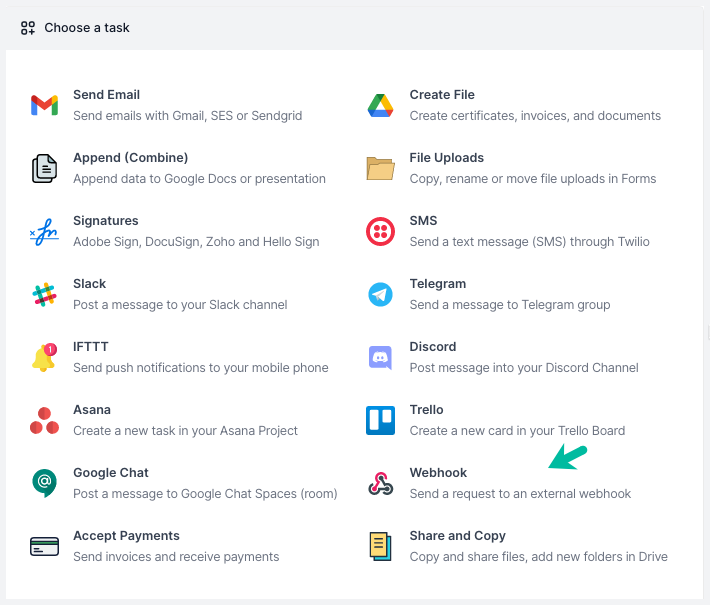
If you want the webhook workflow to run only for specific form responses, you can add them in the Conditions screen. Next, choose Webhooks from the list of available tasks.
Configure Webhook
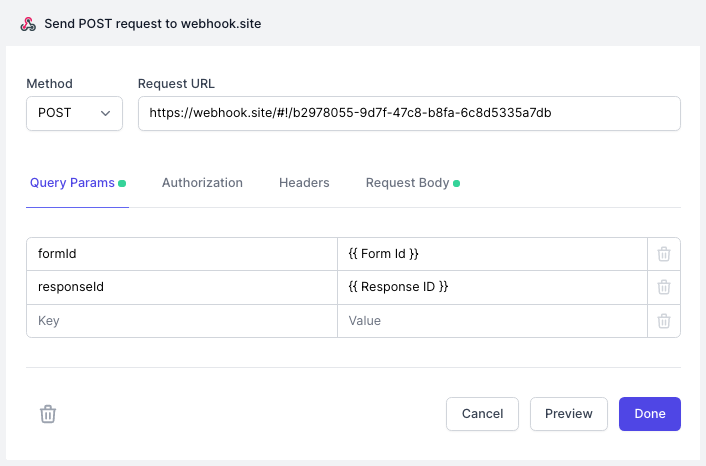
You can make all kinds of HTTP requests including GET, POST, DELETE, PUT, and PATCH methods. The respondent's answers, along with the form's metadata, can be included in the request body as JSON, HTML, XML or Form URL encoded format.
The Query Parameter section lets you append custom parameters to the webhook URL. For instance, if you are sending webhook from multiple forms, you can append the {{Form Id}} parameter to your URL to easily distinguish the source of a particular webhook call.
You can configure your webhook to include a secret bearer token or access token to authorize the calls. You can do basic authentication with login and password or include the API keys with the authentication headers.
You may also include custom headers in your webhook endpoint(s). The keys of the header can be either strings or numbers and may not include spaces or other invalid characters.
The request body defines the payload (form response and custom data) that is sent to the web service when a form entry is received. You may send payload in different formats including JSON, Form data, XML and more.
Send Data in JSON Format
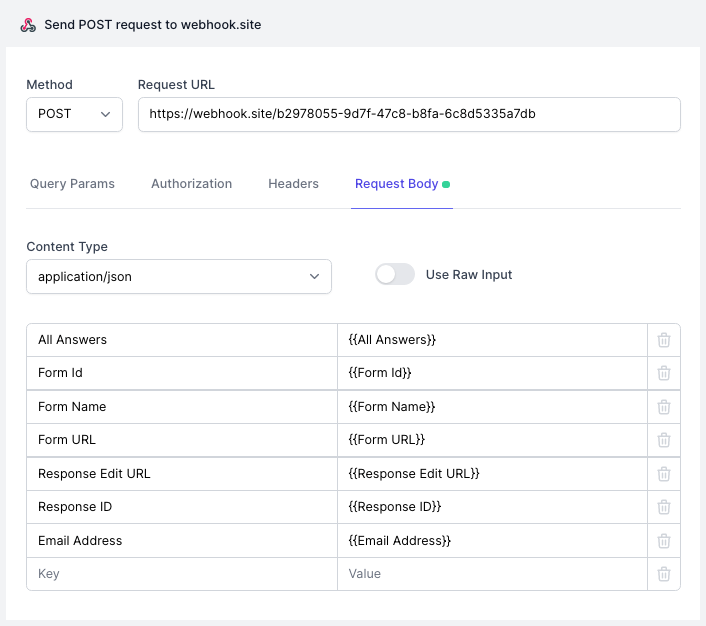
Sending a POST request with JSON payload is the most common way to send data to a webhook. Select Post as the HTTP method and switch to the Request Body tab in the Webhooks section. Here, select application/json as the Content Type and enter the JSON payload.
You may either use the table to define the JSON keys and values or switch to the Raw Input mode and enter the JSON payload directly. It is important that the JSON keys are strings enclosed in double quotes.
Test your Webhook
After you have configured the webhook, click the Preview button to send an actual HTTP request to the endpoint. You may use the website webhook.site or requestbin.com to test your webhooks in the browser.
Click Done to locally apply your changes. If you would like to send webhooks to multiple endpoints, you can add more webhook tasks in the same workflow.
Activate workflow
On the next screen, turn on the Run on Form Submit option and the workflow will run whenever a new Google Form submission is received.
Click the Save button and the workflow will now appear in the workflow dashboard where you can edit, delete or manually run the workflow.