Post to Google Chat from Google Forms with Document Studio
Document Studio enables you to post messages to any room in Google Chat from new form entries submitted through Google Forms.
Create a Google Chat room
Sign-in to Google Chat with your Google account. Under the Rooms section, click the+ button to create a new room. Give your room a name of your choice and enter names of the people or groups you want to add. Next, click on Create.

Create a Webhook
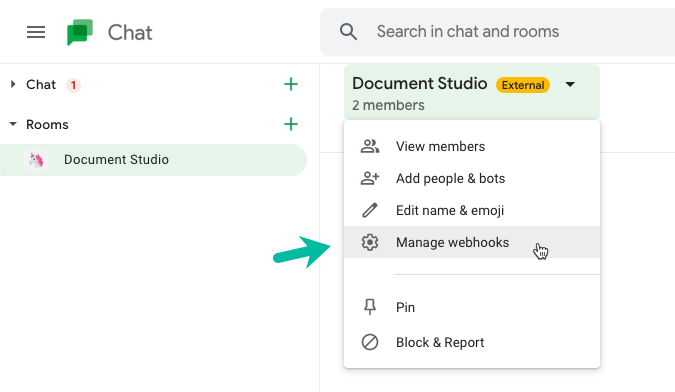
Now that your room is created, click on the arrow where the name of your room is displayed. Select Manage webhooks from the dropdown. In the dialog box that appears, give your webhook a name and click on Save. Copy the webhook URL to your clipboard.
Connect Google Chat to Google Forms
Install the Document Studio add-on, open your Google Form and launch the add-on.
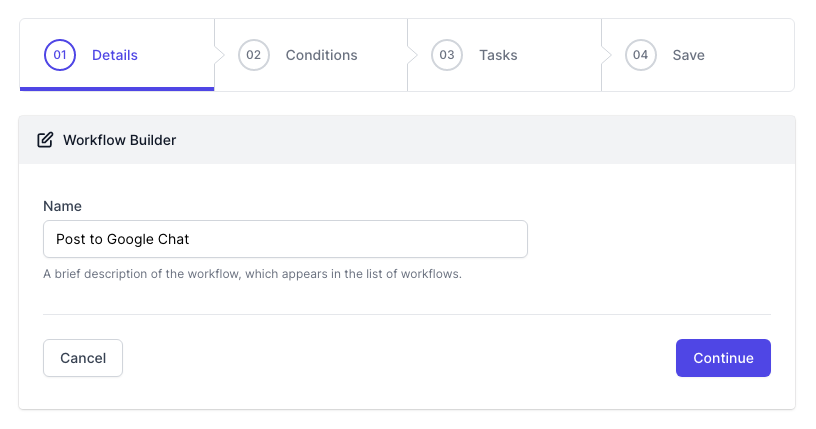
Inside the Document Studio app, provide a descriptive name for your workflow and click on Continue to move to the conditions page.
On the Conditions pane, specify if you want your workflow to run only if the rows in the Google Specific sheet satisfy certain conditions. By default, the workflow will run for all rows in the sheet that contain data.
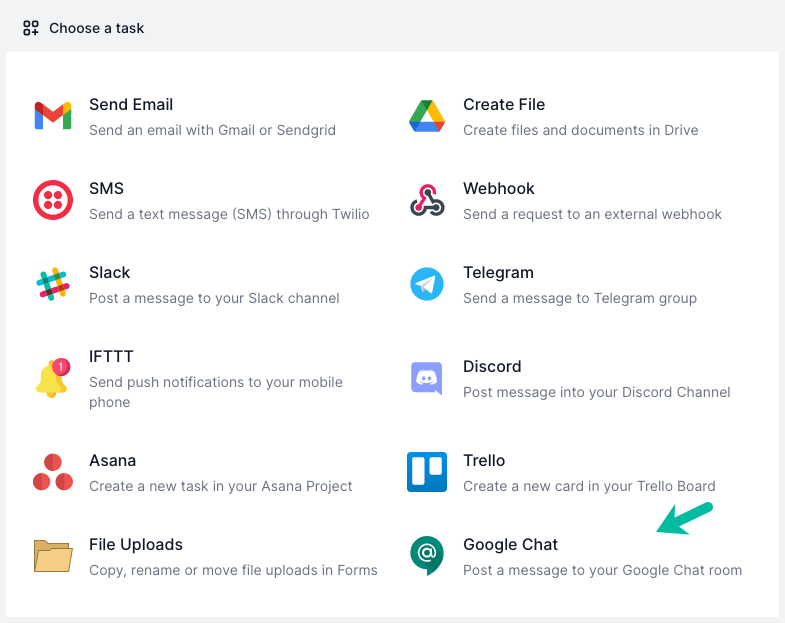
Next, choose Google Chat from the list of available tasks.
Make a dynamic message template
Paste the copied Google Chat webhook URL in the text input box and type your personalized message body.
You can use dynamic fields, enclosed in double curly braces, in the message body. For instance, if name, age and city of members are listed in your Google Sheet, you can personalize the chat messages with variables.
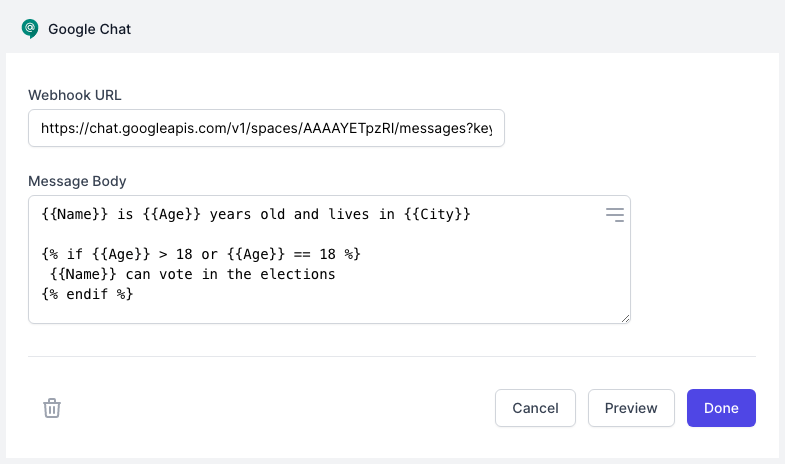
Advanced users may use Scriptlets to add conditional text in the chat body.
{% if {{Age}} > 18 or {{Age}} == 18 %}
 {{Name}} can vote in the elections
{% endif %}
Preview and Save
Click the Preview button and you should see the message posted to your Google Chat room. Document Studio will take the data from the second row of the response Google Sheet and publish the message to your selected room. Click Done to locally apply your changes.
Click on Continue to proceed to the triggers screen. Check the Run on form submit option so that every time a new form response is submitted, the workflow will be triggered and a new Asana task will be created.
The workflow will now appear in the workflow dashboard where you can edit, delete or manually run the workflow.