Accept Online Payments with Razorpay and Google Forms
Document Studio enables you to send invoices and collect payments with Razorpay for new Google Form responses. The customer can place an order inside Google Forms and a Razorpay invoice is sent to them on form submission. The customers can use their credit cards, UPI, mobile wallet or any payment method to make payment for the invoice.
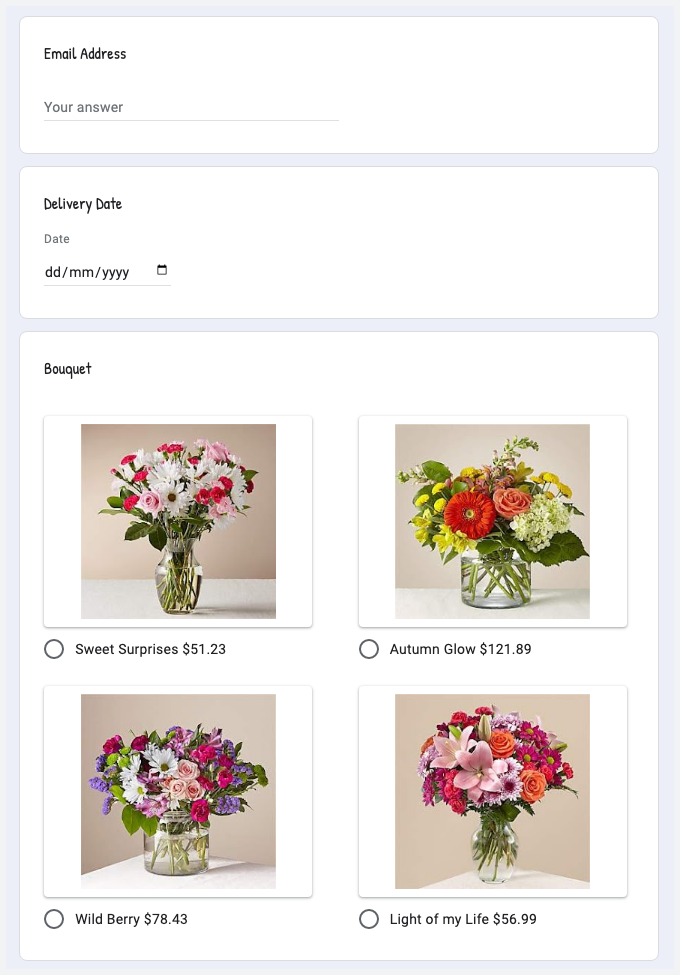
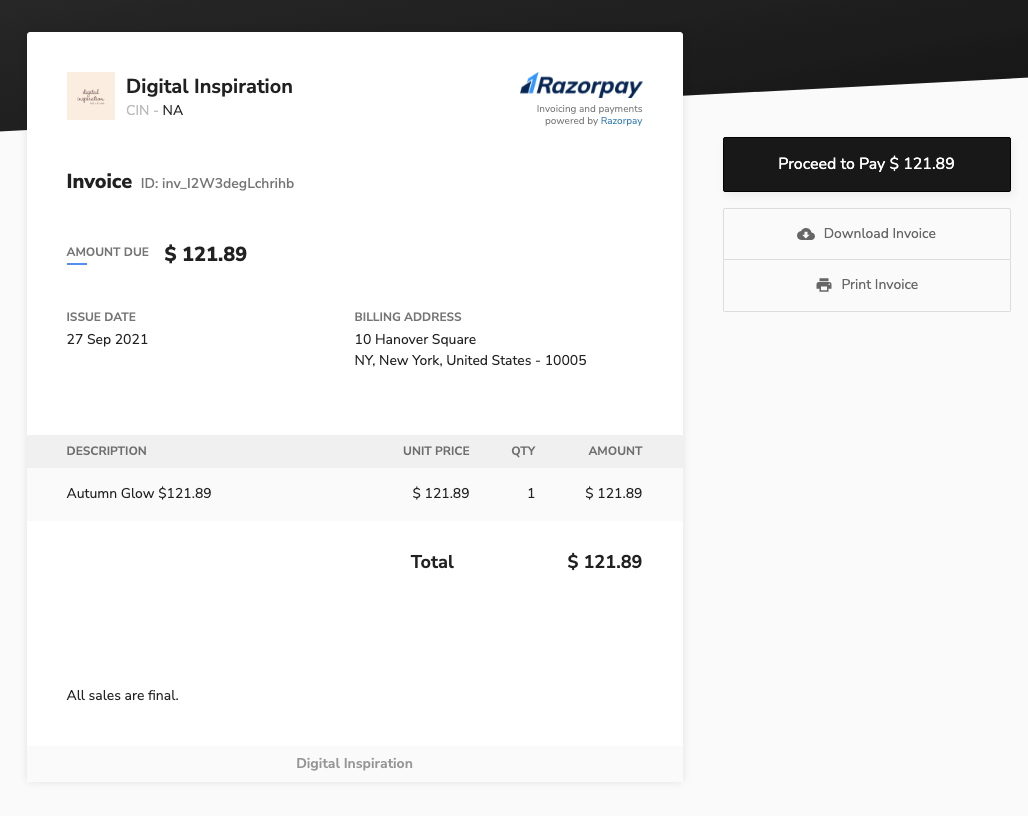
For this example, a flower shop uses Google Forms for selling online flower bouquets. The form collects the bouquet type, the gift delivery date, the customer's name and billing address. When the form is submitted, the customer is sent an invoice with the total amount due.
Get your Razorpay API key
Go to your Razorpay Dashboard, click on the Settings menu and then API Keys. Click the Generate Key button to generate your Key Id and Key Secret that we'll need in a later step.
Connect Razorpay to Google Forms
Install Document Studio and open your Google Form to launch the add-on.
Inside the Document Studio app, provide a descriptive name for your workflow like Generate Razorpay Invoices with Google Forms and click on Continue to move to the Conditions page.
If you would like to generate invoices for only responses that meet a specific condition, you can use the Conditions section to specify the criteria. Click on Continue and choose Accept Payments from the list of available tasks.
Configure Razorpay Customer
Inside the Payments task, choose Razorpay from the list of available payment providers. Paste your API keys and specify whether these are live (production) or sandbox (test) keys. Next fill in the fields for the Customer Information section and data in these fields can be pulled in from the form response using question title placeholders.
Configure Razorpay Invoice
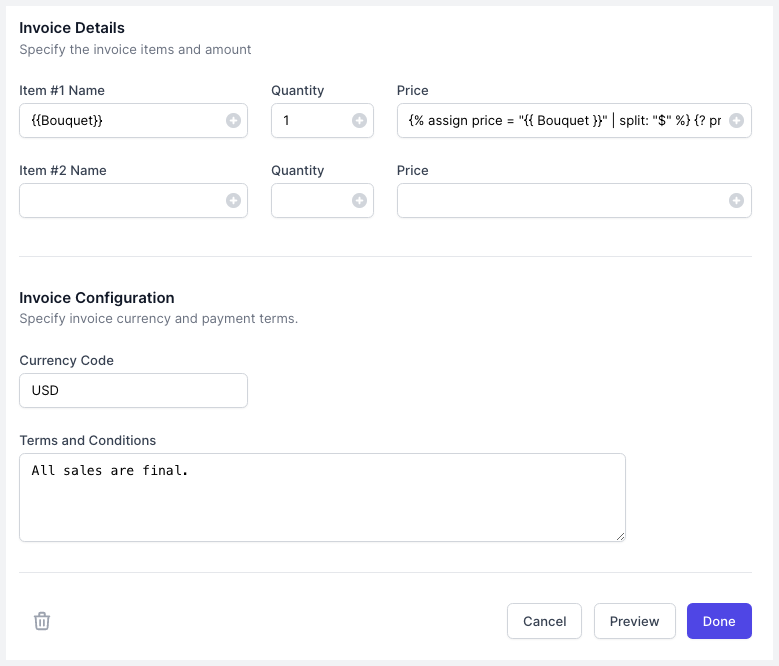
For the invoice section, specify the items name, the price of each item and the {{ quantity }} of each item as selected by the customer in the Google Form. You also need to provide the 3-letter currency code for the invoice (like USD for $ or INR for ₹).
The price of the item will vary based on the bouquet type selected by the customer. You can use Scriptlets in the price field to dynamically calculate the price of the item based on the item selected.
{% assign price = "{{ Bouquet }}" | split: "$" %}
{? price[1] ?}
The Bouquet question contains the bouquet type and the price of that bouquet. We use Scriptlets to split the string using the $ character as the delimiter and assign the second part of the string to the variable price.
Razorpay invoices generated with Document Studio do not support tax rates.
Preview and Save
Click the Preview button and a test invoice is generated. Document Studio will take the data from the second row of the response Google Sheet and create a Razorpay invoice. Click Done to locally apply your changes.
On the trigger screen, turn on the option that says Run workflow on Form Submit and then click on the Save button. The workflow will now appear in the workflow dashboard where you can edit, delete or manually run the workflow.
Here's a copy of the sample Razorpay invoice generated from the Google Form response: