Save Google Form Uploads to a Shared Drive Folder
With Google Forms, form respondents can upload files directly to your Google Drive. The files are uploaded in the personal drive of the form owner but with Document Studio, you can automatically save the files to any Shared Drive that you are a member of. You can either copy or move uploaded files to a Shared Drive or even rename files based on user's answers.
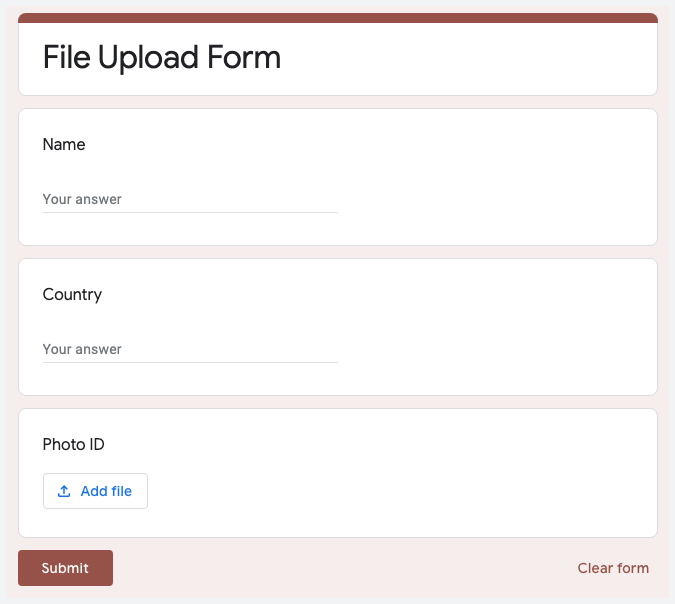
For this example, we have a simple Google Form where respondents can enter their name, country and upload a copy of the photo identification they have.

Save File Uploads in Shared Drive
Install the Document Studio add-on and launch the add-on inside your Google Form. Give your workflow a descriptive name, and click on Continue to move to the conditions page.
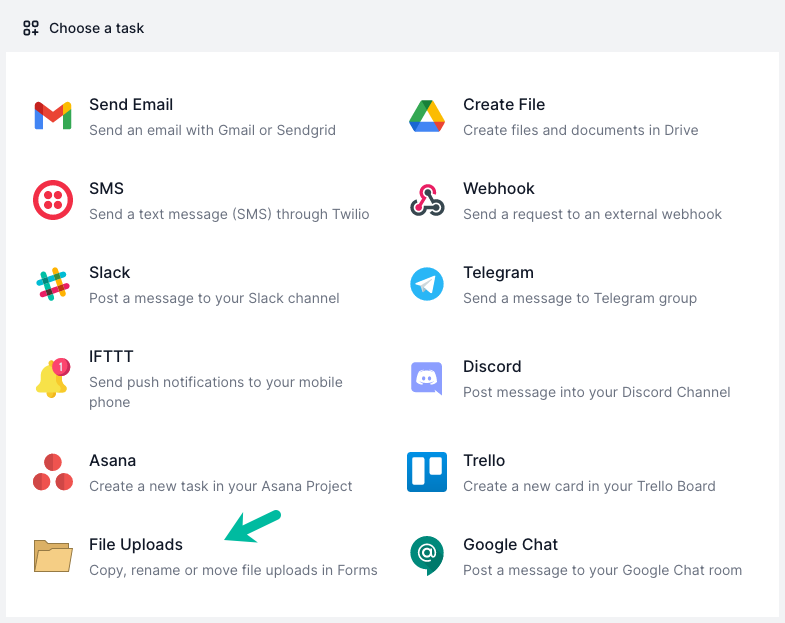
If you want this workflow to run only for specific form responses, you can add them in the Conditions screen. Next, choose File Uploads from the list of available tasks.

Configure File Uploads
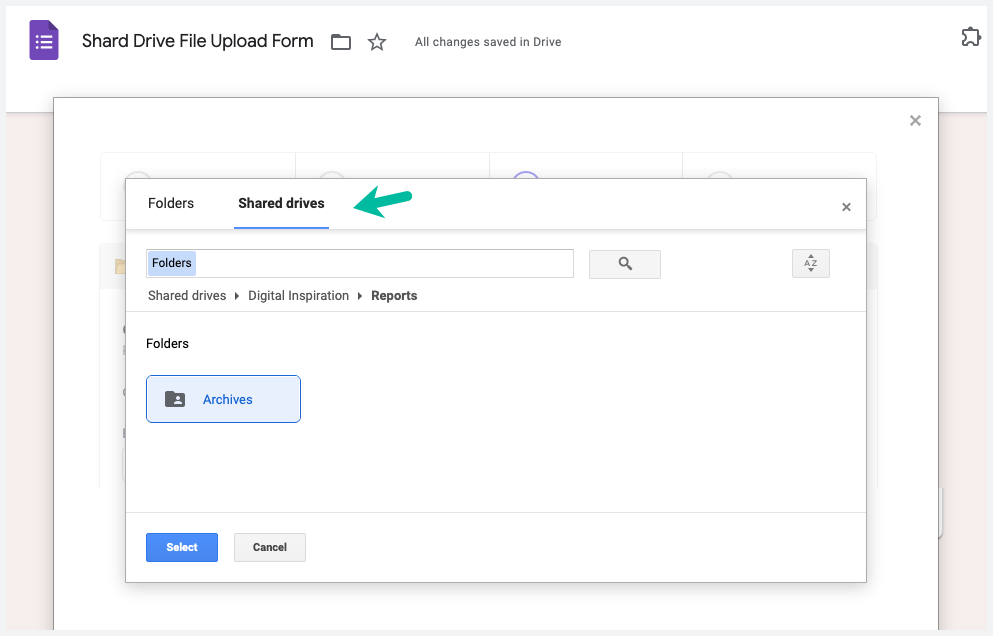
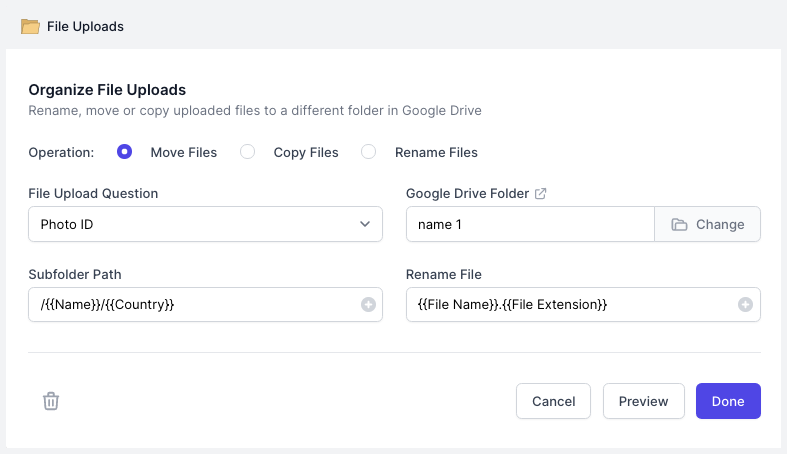
Select your File Upload question from the list of available questions. Next, choose the parent Google Drive Folder where you wish to copy or move these uploaded files. You need to switch to the Shared File section in the picker to select a team folder.

Create Dynamic Sub-folder
This is optional but you can provide a dynamic subfolder path based on the form responses. For instance, if you wish to create separate folders for each respondent in your Shared Google Drive and then another sub-folder for the country they live in, you can use the following subfolder path:
/ {{ Name }} / {{ Country }}

Rename Uploaded Files
When you copy or move files to another Google Drive folder, the original file name is retained. You can however rename the files based on the answers given by the respondents.
For instance, if you wish to prepend the respondents's country in the original file, the renamed file would become:
{{Country}}-{{File Name}}.{{File Extension}}
The {{File Name}} and {{File Extension}} variables refer to the original file name and extension as uploaded by the user in your Google Form.
Click Done to locally apply your changes. If you have multiple file upload questions in your Google Form, you can add another File Upload task for them in the same workflow.
Activate workflow
On the next screen, turn on the Run on Form Submit option and the workflow will run whenever a new Google Form submission is received.
Click the Save button and the workflow will now appear in the workflow dashboard where you can edit, delete or manually run the workflow.