Copy Form Responses to Microsoft Excel
When you set up a Google Form, it automatically saves responses in a linked Google Sheet. But by using Document Studio, you can easily divert these responses to a different location, such as a Microsoft Excel worksheet, another Zoho Sheet, or another Google Spreadsheet in your Drive.
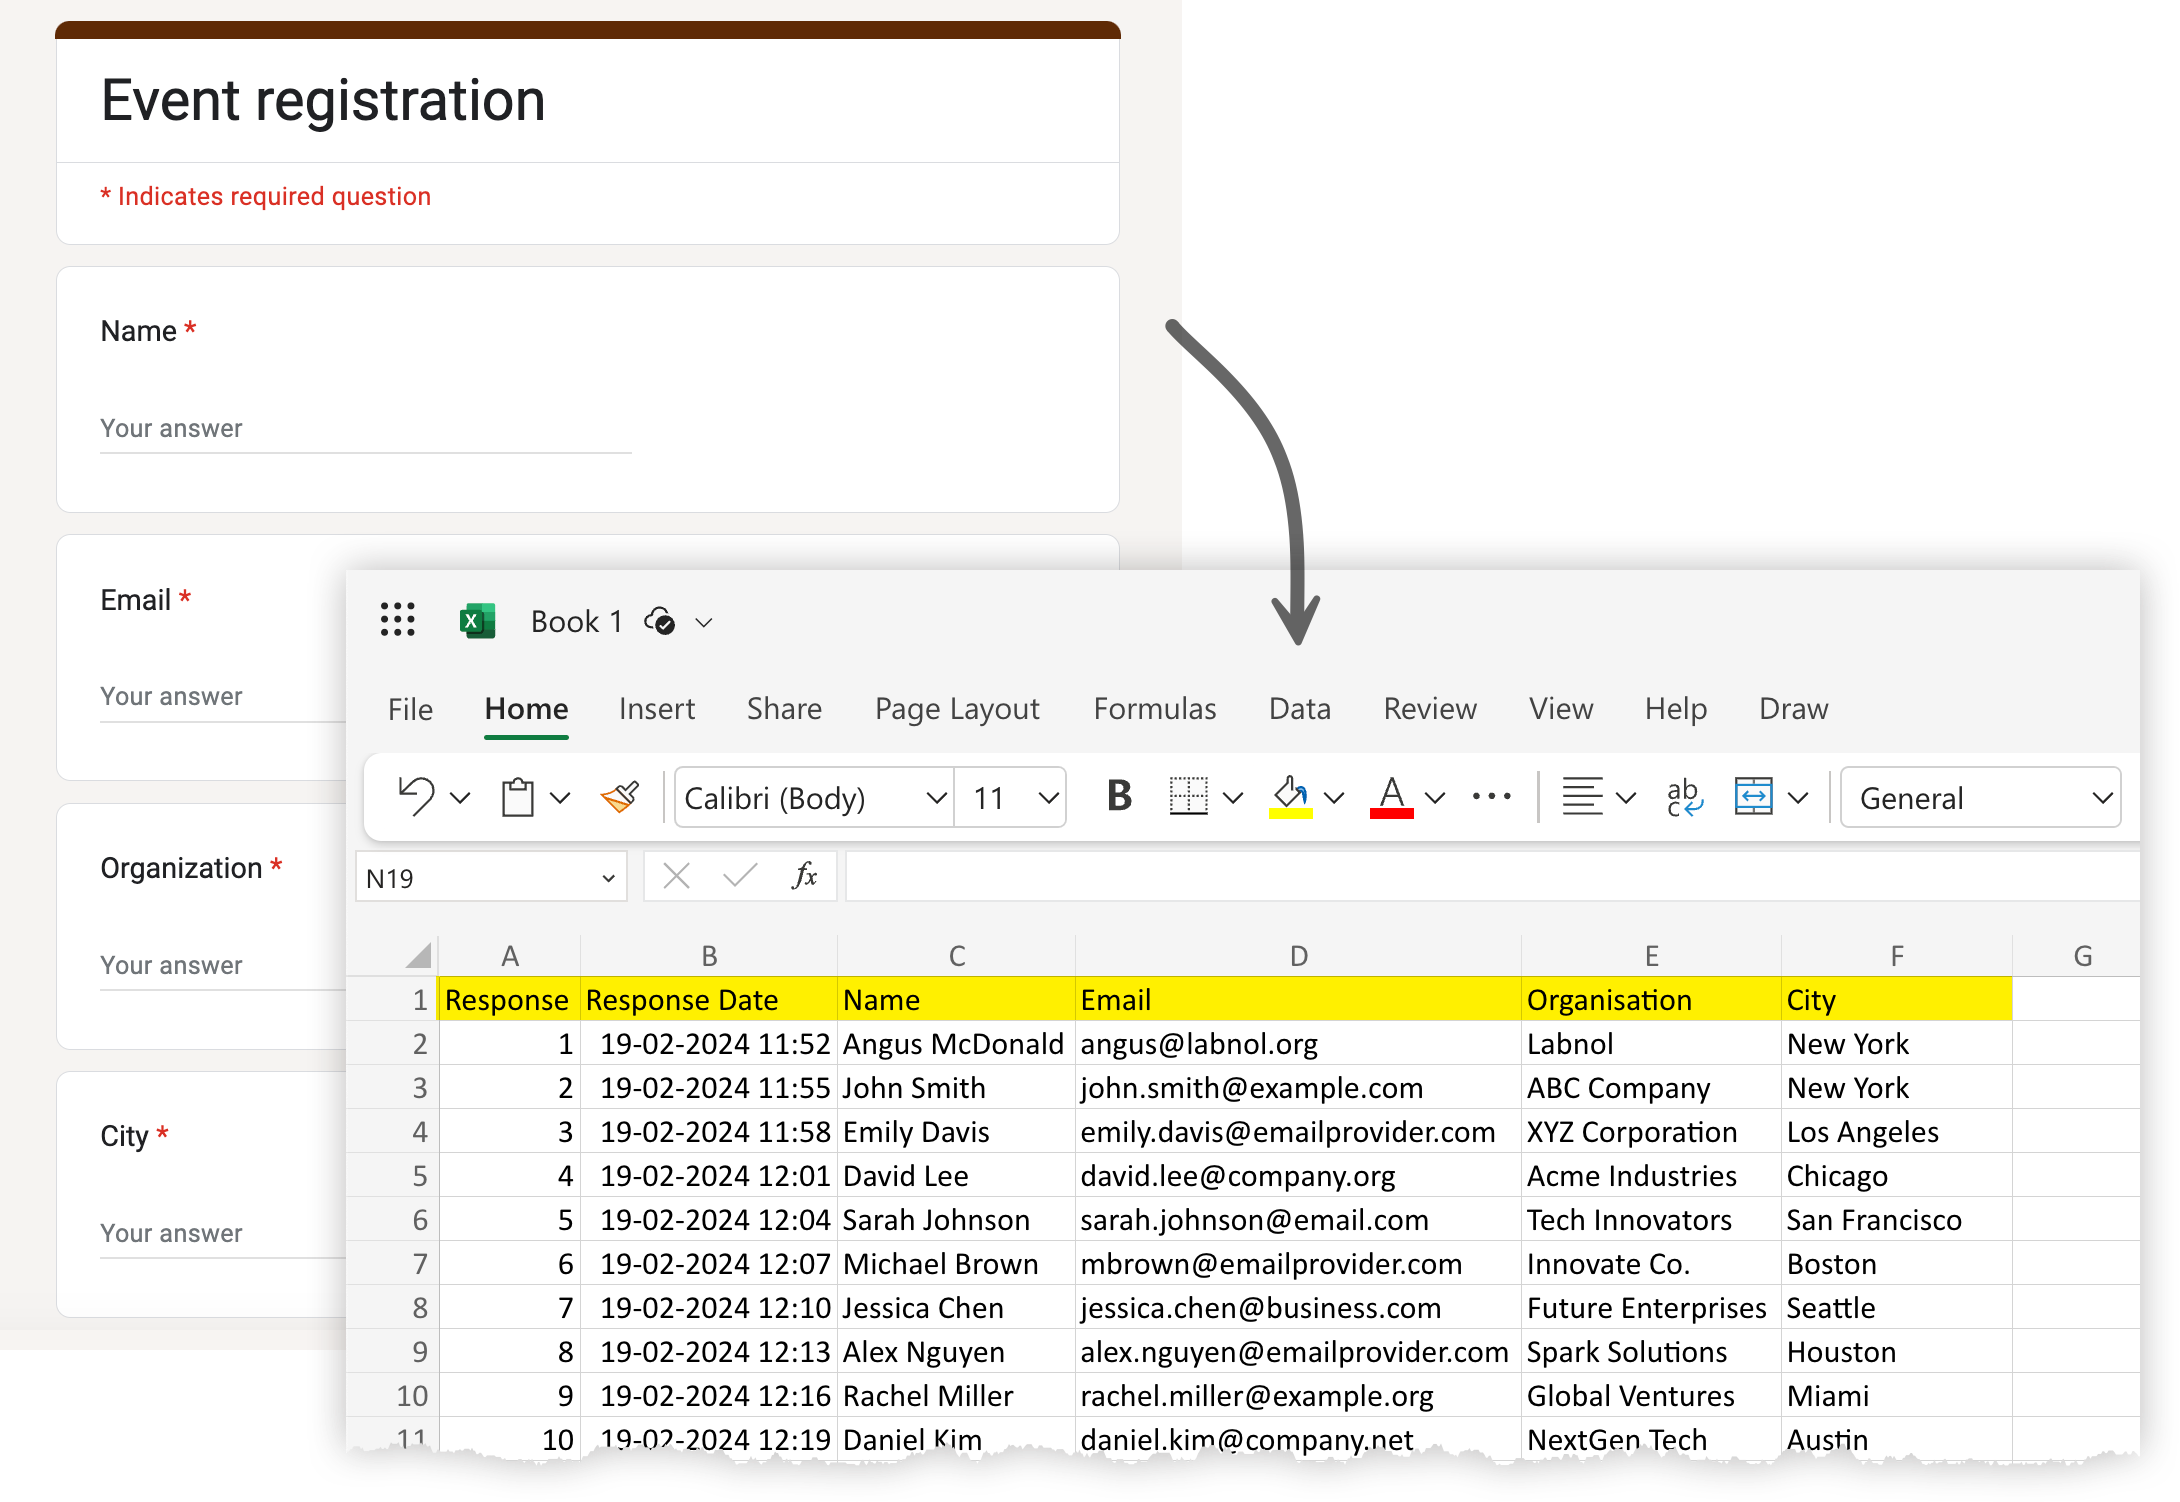
In this example, we're using a Google Form to gather registrations for a business event from potential attendees. We'll explore how Document Studio can be utilized to save those form responses to an Excel spreadsheet.
Create Workflow
Install Document Studio and open your Google Form to launch the add-on. Create a new workflow, give a descriptive name like Copy Form Responses to Excel, and click Continue to move to the conditions page.
In the Conditions section, define conditions under which your workflow should activate based on form responses. For example, if your Google Form includes a question about the respondent's location, and you wish to funnel responses from North America to a specific Excel sheet dedicated to that region, you can set up that criterion here.
By default, the workflow will run for all the form responses. Click Continue to move to the tasks section.
Connect to Google Sheets
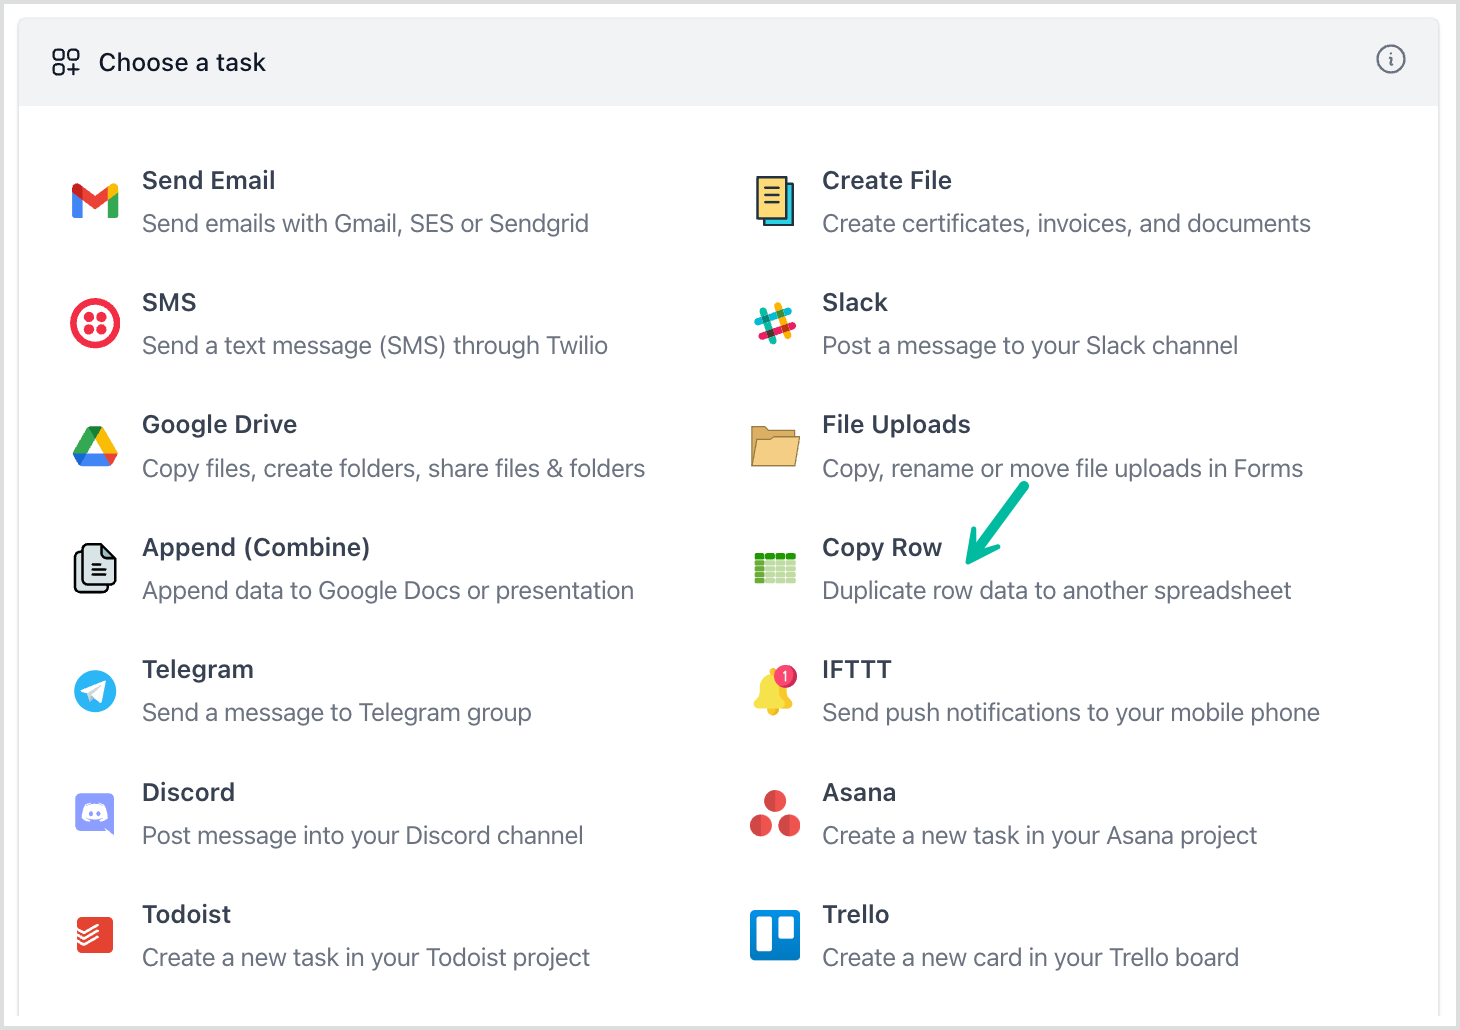
Choose the Copy Row task from the list of available tasks. Select Excel Sheets from the list of available spreadsheet applications, and click on Link Microsoft Excel to connect your Microsoft account with Google Sheets.
Once your Microsoft account has been linked, copy the Worksheet URL from Microsoft Excel, and paste it into the Spreadsheet URL field.
You may only use Excel files stored in OneDrive / Office365 account and not on your local computer. Also, please ensure that the spreadsheet URL should be in the format
https://onedrive.live.com/...and nothttps://1drv.ms/....
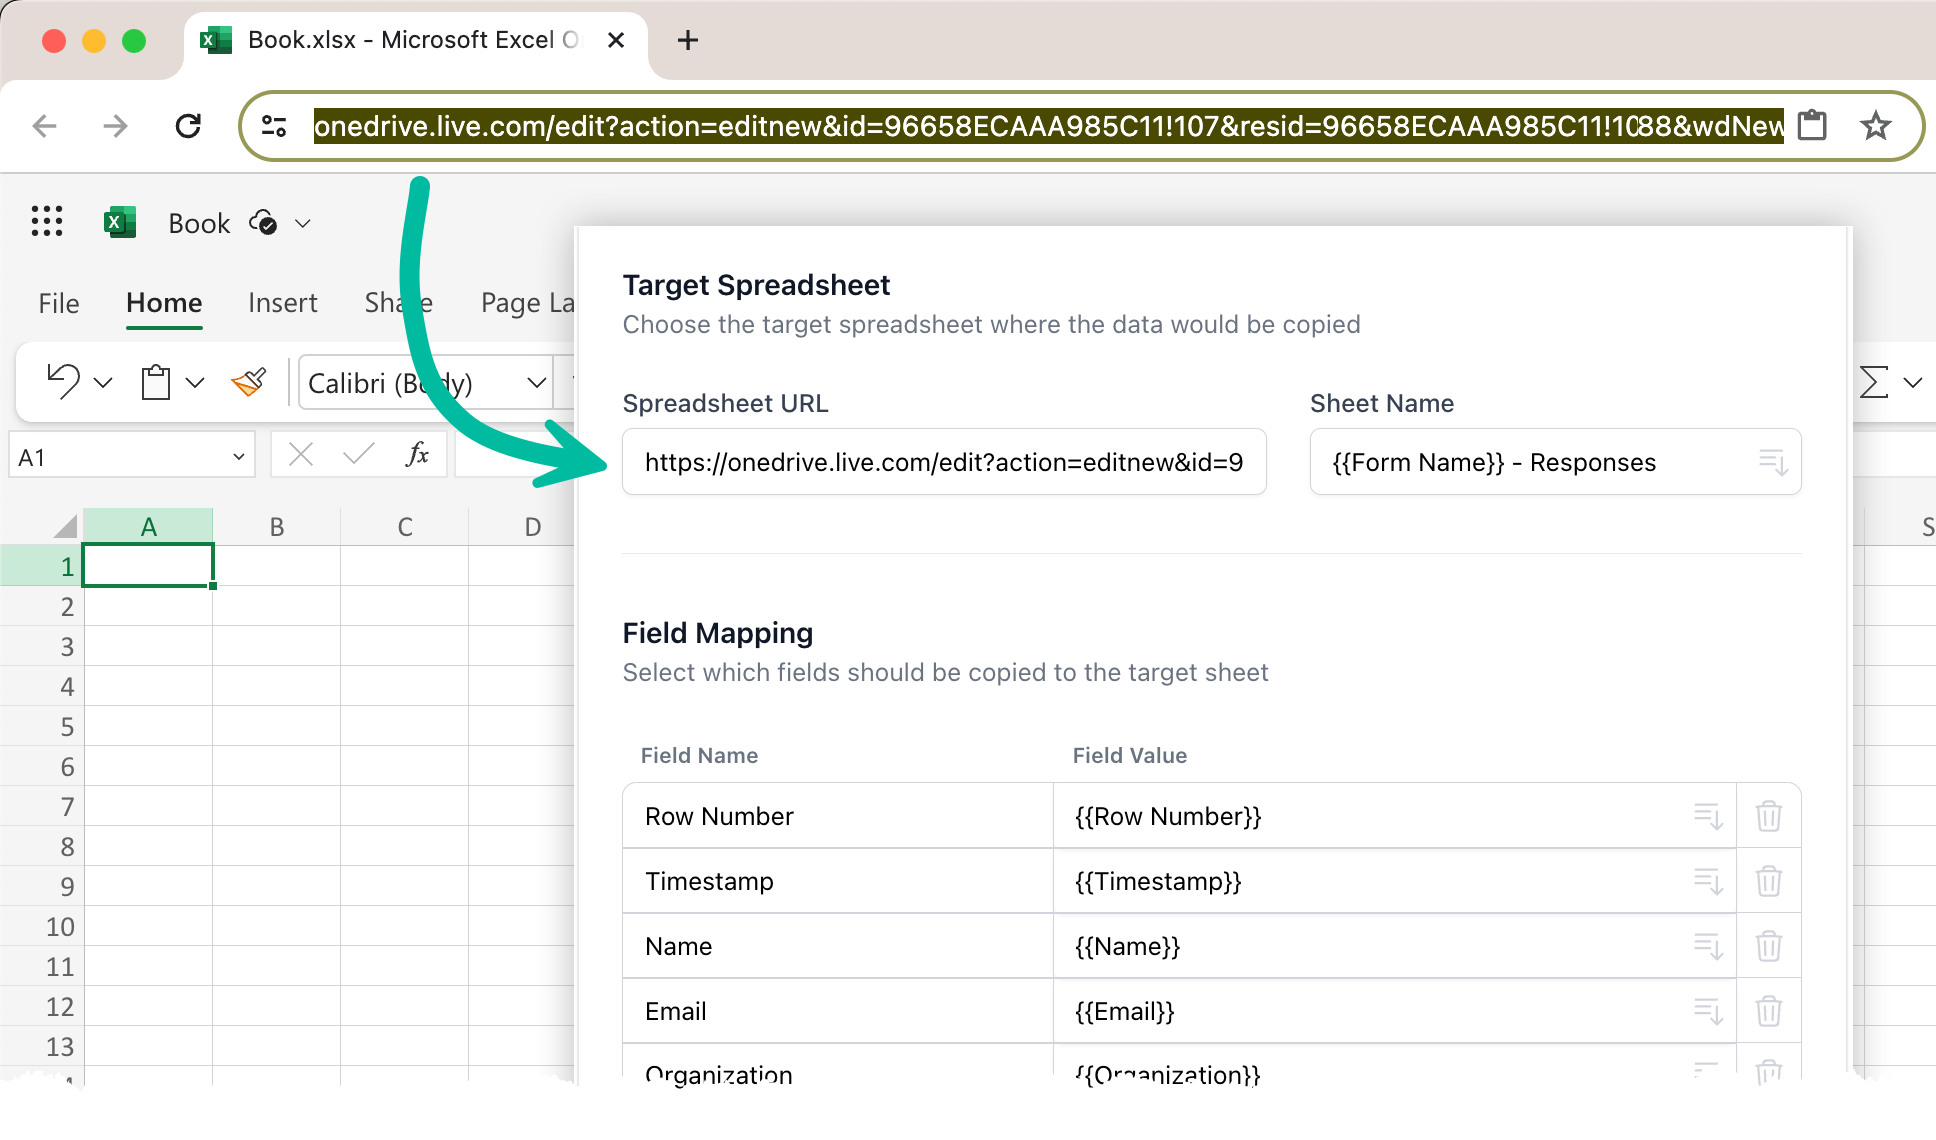
Next, specify the name of the worksheet where you want the responses to be saved. If you have created a worksheet previously, simply enter its name in this field. You can also choose to create a new worksheet by specifying a custom name for the sheet.
Field Mapping
The next section is Field Mapping where you define the form questions that should be mapped to the columns in the destination Excel worksheet.
| Title | Description |
|---|---|
| Field Name | It represents the column heading in the Excel worksheet |
| Field Value | It represents the dynamic values that will be stored in that column from the Google Form responses |
For instance, if a question in the Google Form is titled State and you would like to store it as Region in the Excel workbook, the mapping would look like this:
| Field Name | Field Value |
|---|---|
| Region | {{ State }} |
You have a list of default fields available, including the questions in the form. You can edit the field names, delete an entire field, and add as many new fields as you want.
Click Done to save this task and proceed to the next step.
Activate Workflow
Click on Continue to proceed to the triggers screen. Check the Run on form submit option so that every time a new form response is submitted, the workflow will be triggered, and a new row will be added to your Microsoft Excel spreadsheet.
Save your workflow. The workflow will also appear in the workflow dashboard where you can edit, delete, or manually run the workflow.
Next, open your Google Form and submit a sample response to test the workflow. It will copy the form responses to the default destination Google Sheet and the selected Excel worksheet as per the field mapping you have defined.