Send Documents for Digital Signatures with Zoho Sign and Google Forms
With Zoho Sign and Document Studio, you can securely send your business documents for electronic signatures when a customer fills out a Google Form. The digital signatures are legally valid, secure, and verifiable.
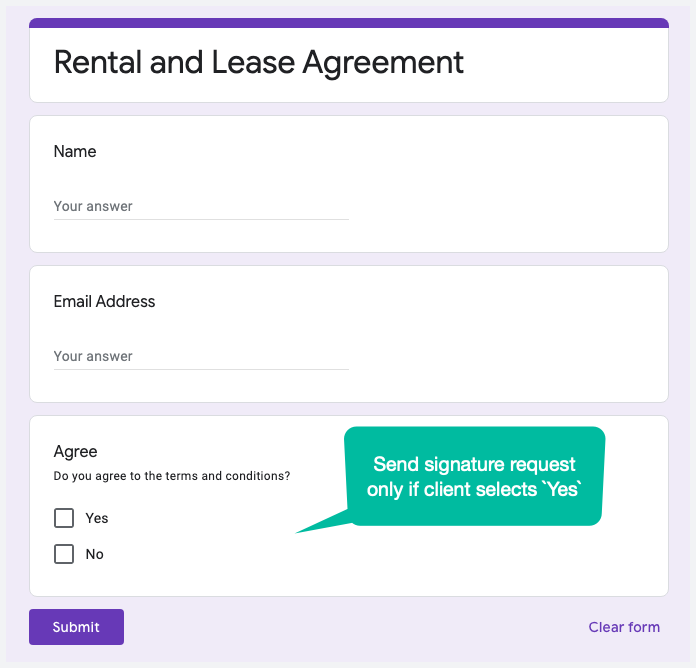
For this example, we have a Google Form where the tenant fills out their name and email address. We will then send the rental and lease agreement with a signature field to the tenant's email address using Zoho Sign.
Create Template in Zoho Sign
Sign-in to your Zoho Sign account, go to the Templates section and click the Create Template button to add a new template to your Zoho account. Next, upload one or more documents you want to send for signatures. You can upload PDF, Word documents, or even images. Zoho Sign also lets you import templates from other sources, such as Google Drive, Box, Dropbox and Microsoft OneDrive.
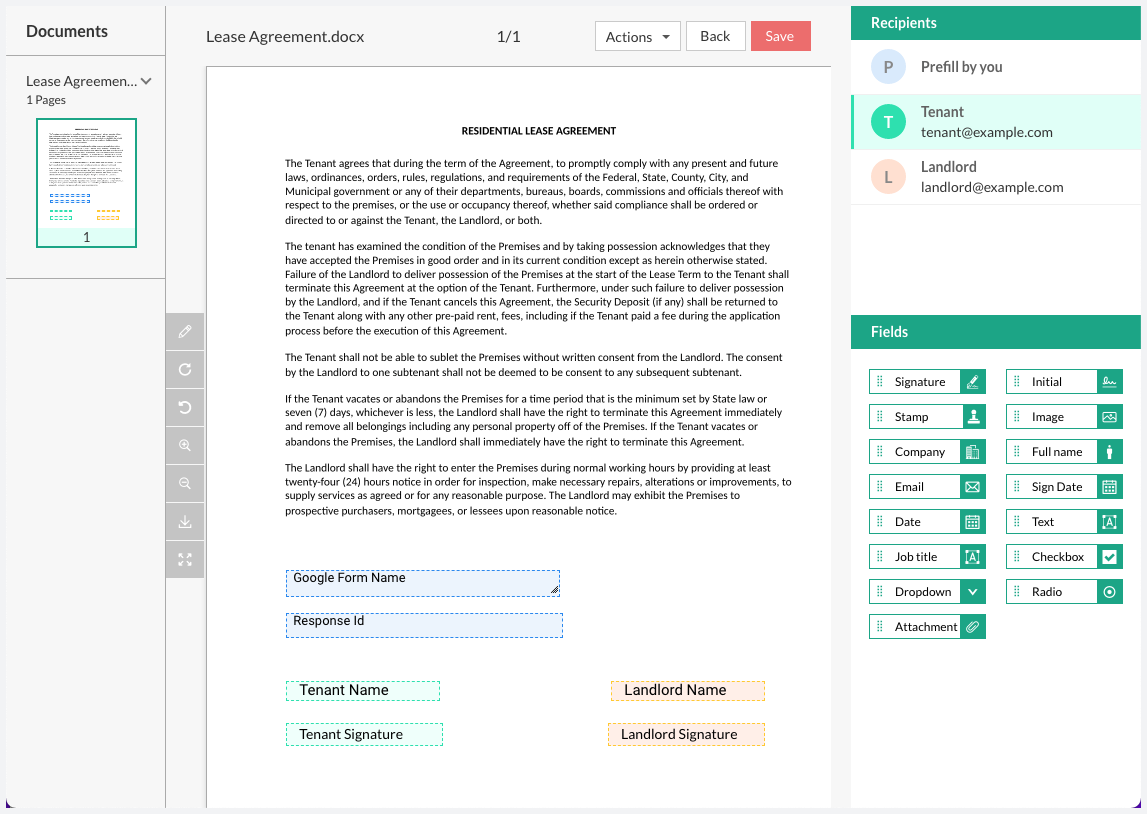
Once the document has been uploaded, specify the list of recipients, and their respective roles, who would be getting this document for signature. You may place any dummy email addresses here as these will be replaced with the actual email addresses of the tenant when the document is sent.
Next, add the signature field, text fields and any other fields into the document. Save your template.
Connect Zoho Sign with Google Forms
Install the Document Studio add-on and launch the add-on inside your Google Form. Give your workflow a descriptive name, and click on Continue to move to the conditions page.
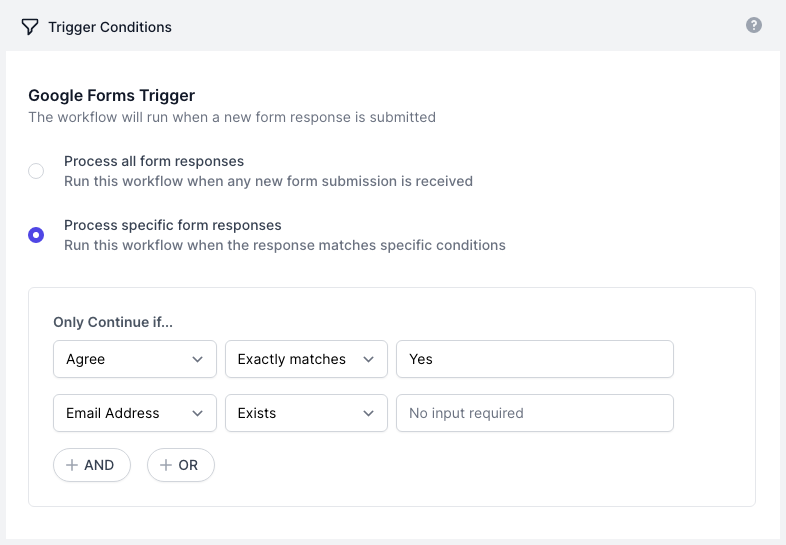
If you want the workflow to run only for specific form responses, like when the tenant has selected Yes for the I agree field, add them in the Conditions screen.
Next, choose Signatures from the list of available tasks) and choose Zoho Sign from the list of available signature service providers.
Configure Zoho Sign Request
Click the Link your Zoho Sign account button to link your Zoho Sign account to your Google Form.

Once the authorization is complete, you'll see a list of templates from your Zoho Sign account in your dashboard. Select the specific template you want to use for this workflow.
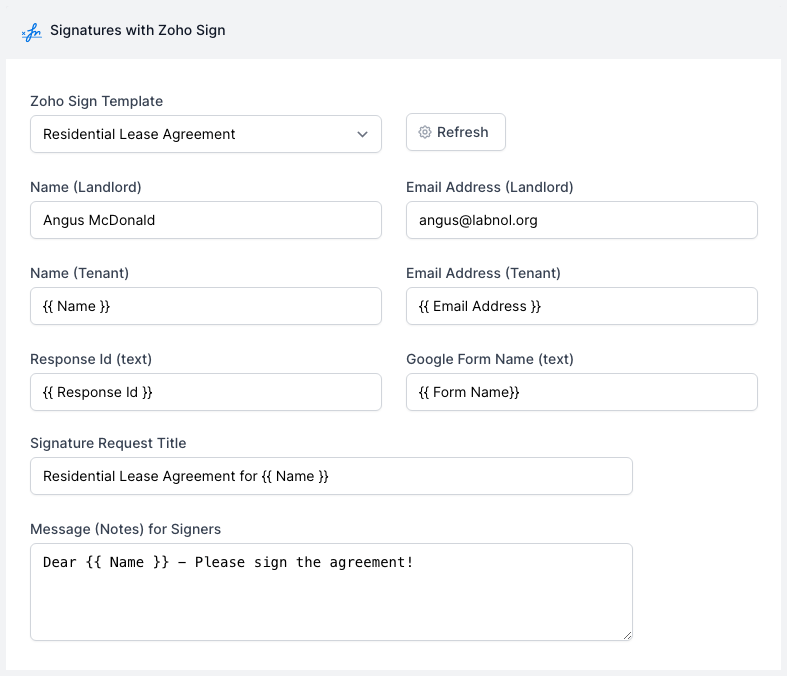
Document Studio will now fetch the signature template and create a list of fields that you can pre-fill using dynamic form data before sending the document for signature. You can use variable form fields - like {{ Email Address }} for the tenant's email address input field - and these will be replaced with the actual values from the Google Form when the document is sent.
Preview and Activate workflow
Click the Preview button and you should see an actual signature request sent from the authorized Zoho Sign account to the respondents of the first response in Google Forms. Click Done to locally apply your changes.
On the next screen, turn on the Run on Form Submit option and the workflow will run whenever a new Google Form submission is received.
Click the Save button and the workflow will now appear in the workflow dashboard where you can edit, delete or manually run the workflow.