How to Insert Photos Uploaded in Google Forms in Generated Documents
With Document Studio, you can insert photos uploaded in Google Forms into your generated documents. This is useful for generating student ID cards, event tickets, employee badges and other documents where the respondent has uploaded photos through the form.
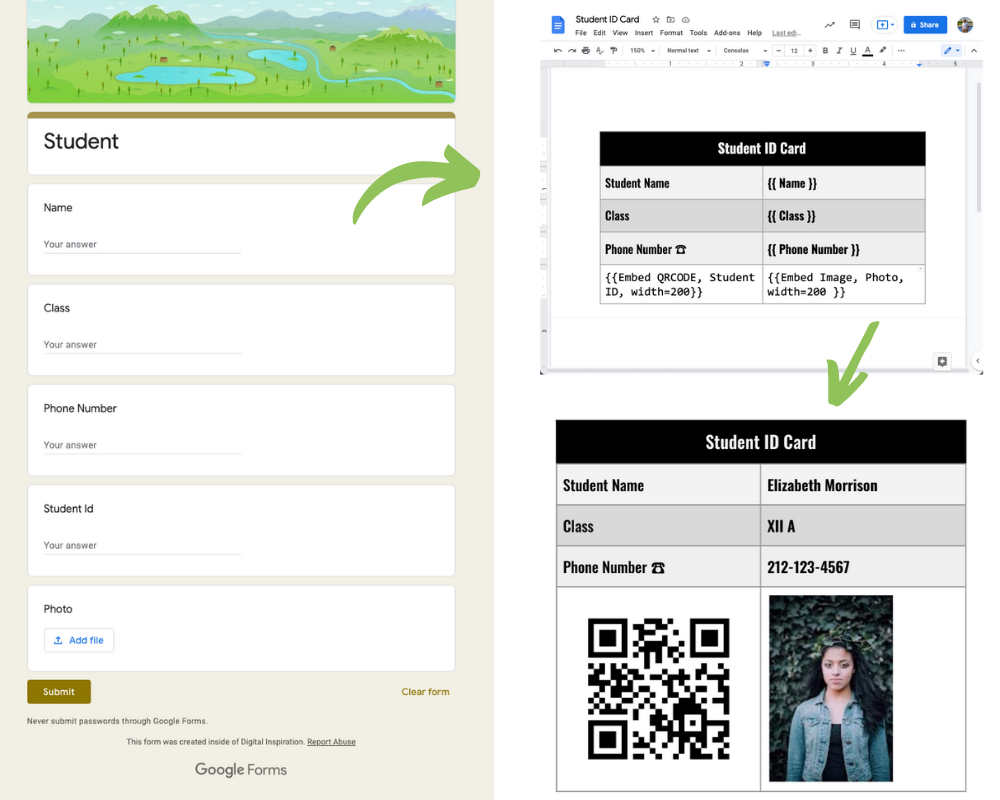
For this example, we have a Google Form where students can fill in their name, class, their unique student ID and upload a profile photo. The workflow will generate PDF badge for each student containing their name, class and profile photo. The badge will also include a QR code that will contain the student ID.

Google Form
Create a new Google Form for collecting student's information and also add a file upload field where the students can upload their own profile picture.
Document Template
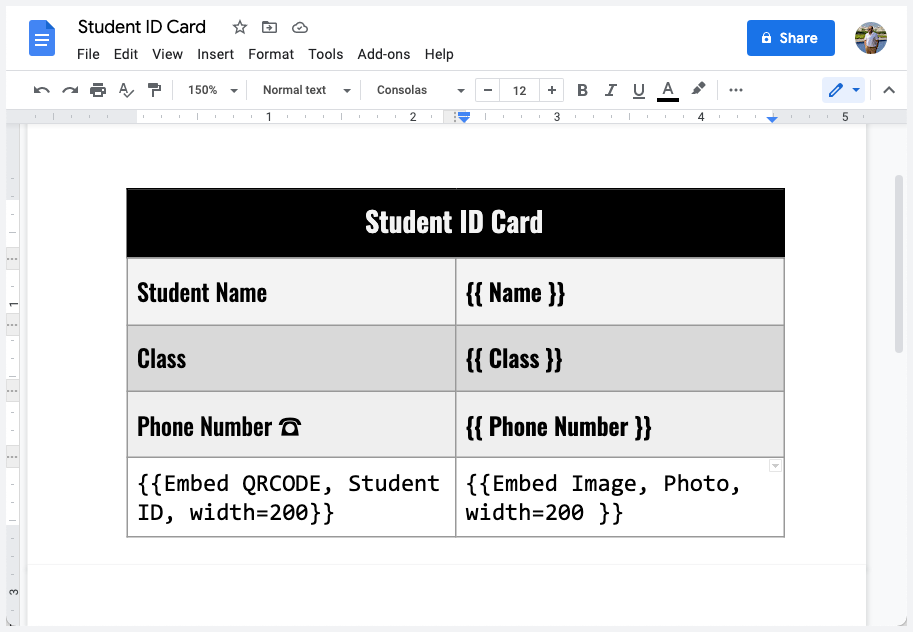
Next, we will create a document template that will be used to generate the badges. The template will contain a table as shown in the screenshot below.
We'll also use the {{Embed Image}} tag to insert the uploaded image in the document and the {{Embed QRCODE}} tag to create the dynamically generated QR code. The width=200 attribute will automatically resize the uploaded image to fit the table cell with max width set to 200 pixels.
The question title in Google Form is called Photo and we'll use it as is in the Embed Image marker.

Create a Workflow
Install the Document Studio add-on, open your Google Form and launch the add-on. Create a new workflow, provide a descriptive name for your Create Student Badges workflow and then click on Continue to move to the conditions page. The workflow, by default, will run for all new form responses including edits made to existing form submissions.
Next, choose Create File from the list of available tasks to create a new PDF document on Form Submission.
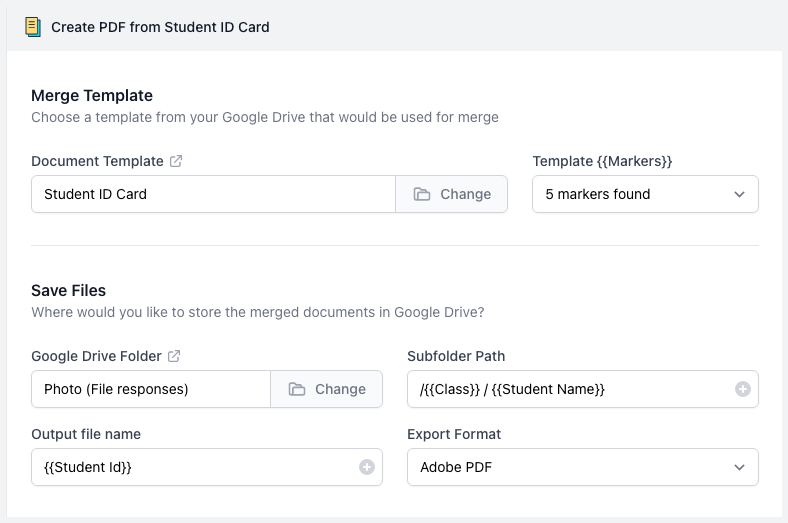
Select the document template you've created in the previous step, select a location for storing the generated PDFS, provide a name of the generated document, and then click on Continue. You may use form fields to generate dynamic file names and folder names for storing the files.

On the triggers screen, choose the Run on Form Submit option and save your workflow.
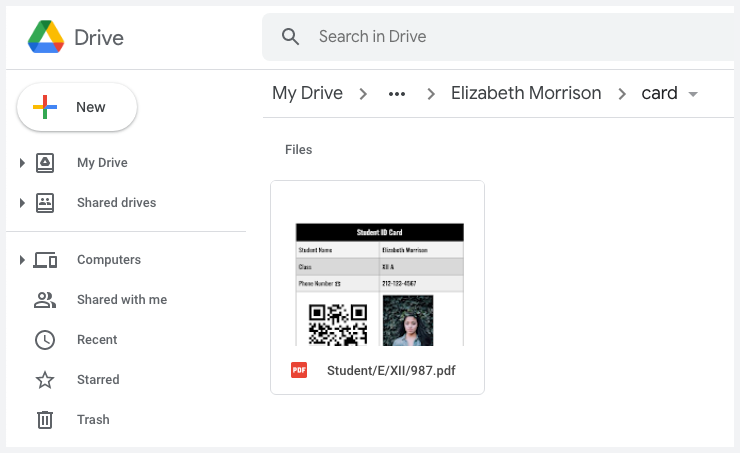
Now that your workflow has been activated, open the Google Form as a user and make a test submission. You should see the generated PDF badge in your Google Drive.
