How to Send Emails with Mail Merge for Gmail
The email template has been prepared and the Google Sheet now has all the information that is required to send merge campaigns. The email addresses of the recipients are listed in the Email Address column of the Google Sheet and one email will go out for every row in the Google Sheet.
It is now time to send our first mail merge campaign.
Configure Mail Merge
Go to the Addons menu, choose Mail Merge with Attachments > Confirm Mail Merge to open the sidebar.
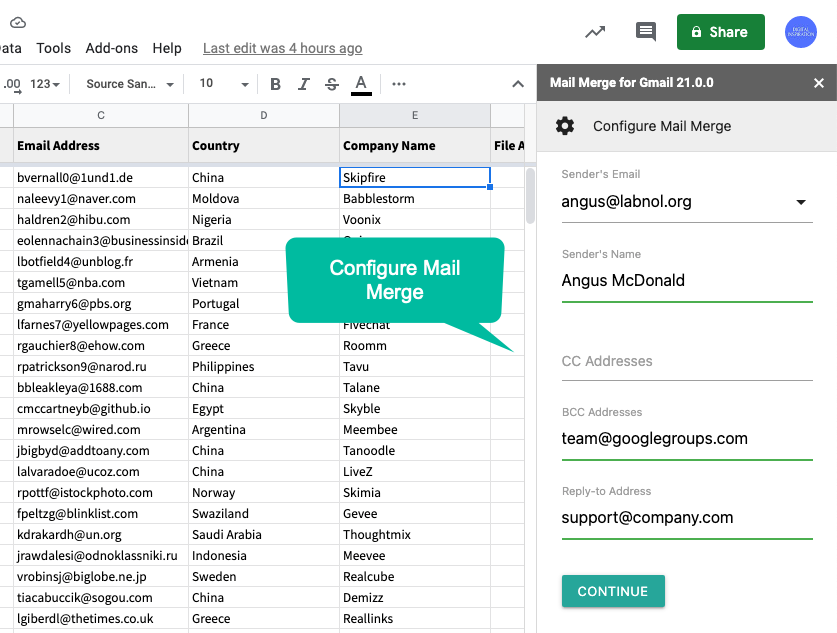
- Choose the Sender's email address (you can send emails on behalf of any email address that is connected as an alias to your Gmail account)
- Enter the Sender's name as this will show in the From field of all your outgoing email messages.
- If you would like to CC or BCC people, you can include their email addresses in the respective CC and BCC fields. Multiple email addresses should be separated with commas.
- Provide a reply-to address and you also have the option to specify multiple email addresses here, also separated by commas.
Choose Email Template
Expand the Email Template section and select the email template that you've created in the previous step.
You may also enable the Previous Cell Formatting option if you would like to carry the cell formatting in your emails. For instance, if you have used a red font for a cell value in the Google Sheet, the corresponding merge field in the email template will also be formatted with the same color.
Send a Test Email
Before you send the email campaign to your list, it is always a good idea to preview and test the campaign to confirm that the layout is rendered as expected, the hyperlinks work and that file attachments, if any, are included.
To send a test email, expand the Send Email Campaign in the sidebar, choose the Send a test email option and click the Go button.
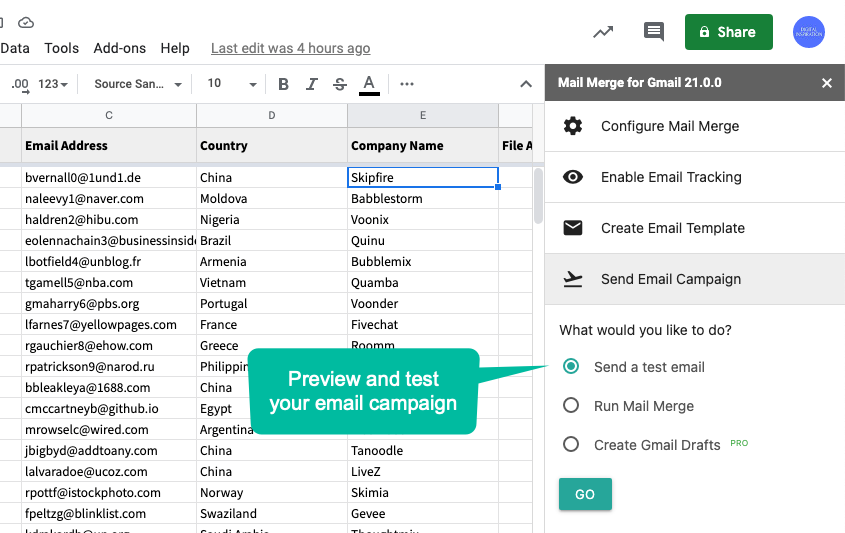
The test email uses merge information that is contained the second row of the Google Sheet (the first row contains the field titles anyway). It ignores CC and BCC fields, doesn't include any tracking pixels and the only recipient is your own self.
Next, open the sent items folder in your Gmail mailbox and look for the email that was just sent via mail merge.
Run Mail Merge
Assuming that your test was successful, choose the Run Mail Merge option and click the Go button again to run a live mail merge.
The email messages would be dispatched instantly and the Mail Merge Status column would be updated as emails are sent.
You can also find a copy of all the email messages sent through Mail Merge in the Sent folder of your Gmail mailbox.