Publish File Upload Form as Web App
After the design of the form is complete, the last step is to publish the form as web app so external users can access your form and upload files to your Google Drive.
When you publish your form as a web app, Google Script will provide you with a unique URL (web address) that you can share with anyone over email, text message, blog, tweet or link it from your own website.
Publish Form as Web App
-
Inside the Google Sheet, go to the Extensions menu and choose Apps Script.
-
This will launch the Google script editor. If you are in the legacy editor, you'll see a blue button that says "Use New Editor" - click that button to switch to the modern Google Script IDE.
-
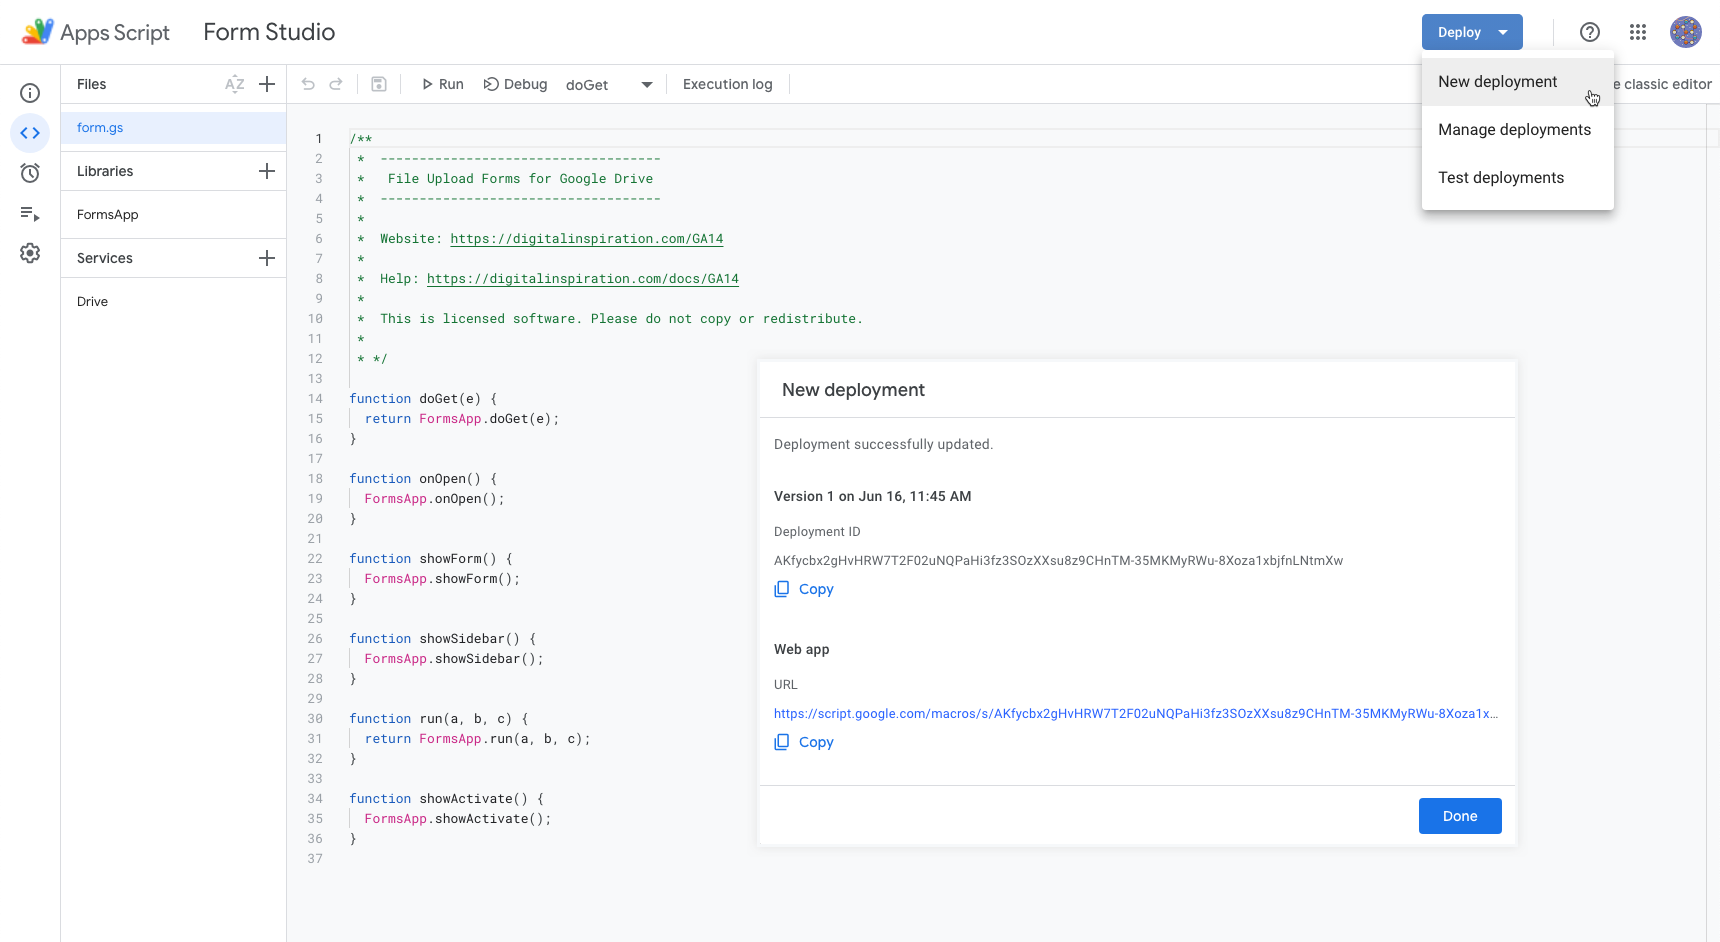
Click the Deploy menu and choose "New Deployment."
-
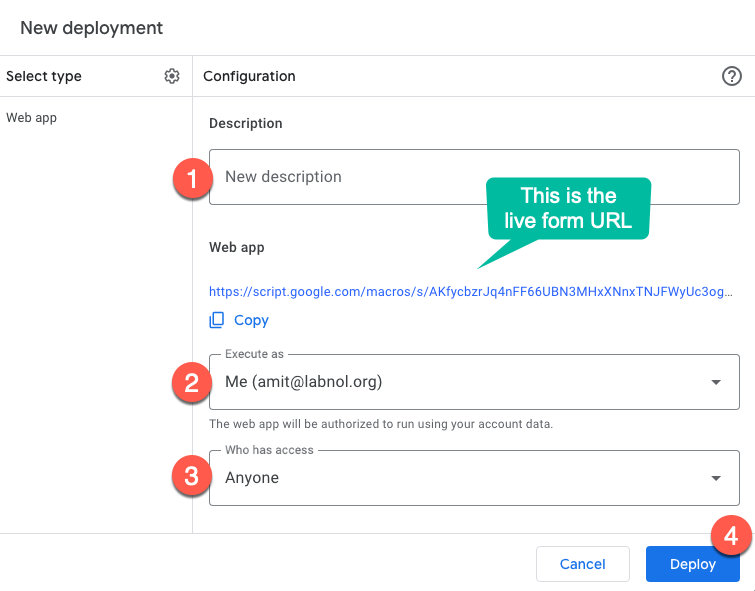
You'll get a pop-up window. Use the default settings.
- Enter a description for your project (optional)
- Choose
meunder the Execute as section - Choose
Anyoneunder the Who has access to the app section. - Click "Deploy" to apply your changes.
-
If you are deploying the web app for the first time, you'll see another window that says "Authorize Access" - click on the button to continue.
-
Choose your Google account from the list of available Google accounts and then click
Allowon the authorization screen that saysFile Upload Forms wants to access your Google Account. -
If you are getting the
Google hasn’t verified this appwarning message during authorization, click theAdvancedbutton and chooseGo to Form Studio. -
Make a note of the web app URL, that's the address of your file upload form.